Tag your viewers in your CRM or email platform when they meet a desired condition while watching your video... So your other marketing is personalized specifically for what they have already watched to get the conversion.
For example, if someone didn’t see the pricing info in your video, you can email it to them. Or if they did see your pricing info but didn’t buy, you can send them a coupon — automatically.
How To Create Tags

1. Access your Video Settings: Access your video library and select the video in question, click Edit and this will take you to your Video Settings.
2. Access the Marketing Settings: Once you access your video settings locate the Marketing Settings tab on the top tight corner and access.
3. Create a Tag: Locate open the Tag section and click on "+ Create New Tag". This will create a Tag on your video and open the settings.
4. Set your Tag: Once you have created a Tag on your video you are able to set the Tag by adding a Tag Name, select the type of Tag (below you will find the different types), Set the time (for timed tags), and set the tag fields on the Tag.
The trigger conditions that you can choose from are:
-
Time — This option will tag the viewer in your CRM when they watch up to a certain point in your video
-
Call to Action — This option will tag any viewers that click on your Vidalytics Call to Action button
-
Interactive — This option will send the choices that your viewer makes on your interactive video funnel
Note: The Tag Field is really important to setup correctly. You need to add the name of the field(s) you are using to trigger the tag. Make sure to use the exact same name. For example a common option to use is the email. You would input "email" as the field if you are using this piece of information to follow through and trigger the tag.
5. Save and Publish: Finally when you have set you Play Gate as you need simply click Save and Publish your video for the changes to apply. And you are done! You have created a Tag and your changes are now live on your video.
Next Steps
You will need to set up the Zapier Integration or connect one of the direct integrations options we have available in order to send your tag data to your CRM. Please check out this article on how to set that up.
If your landing page builder has the option to pass the opt-in form data to the URL, this method will be best for you: Click Here.
If you are using ClickFunnels as your landing page builder, Click Here.
If you are using Kartra, Click Here.
If none of the above apply to you, this advanced method may work for you. Please read the disclaimer at the top of the article. Click Here.
For more information on tagging, check out our FAQ article here!
Troubleshooting
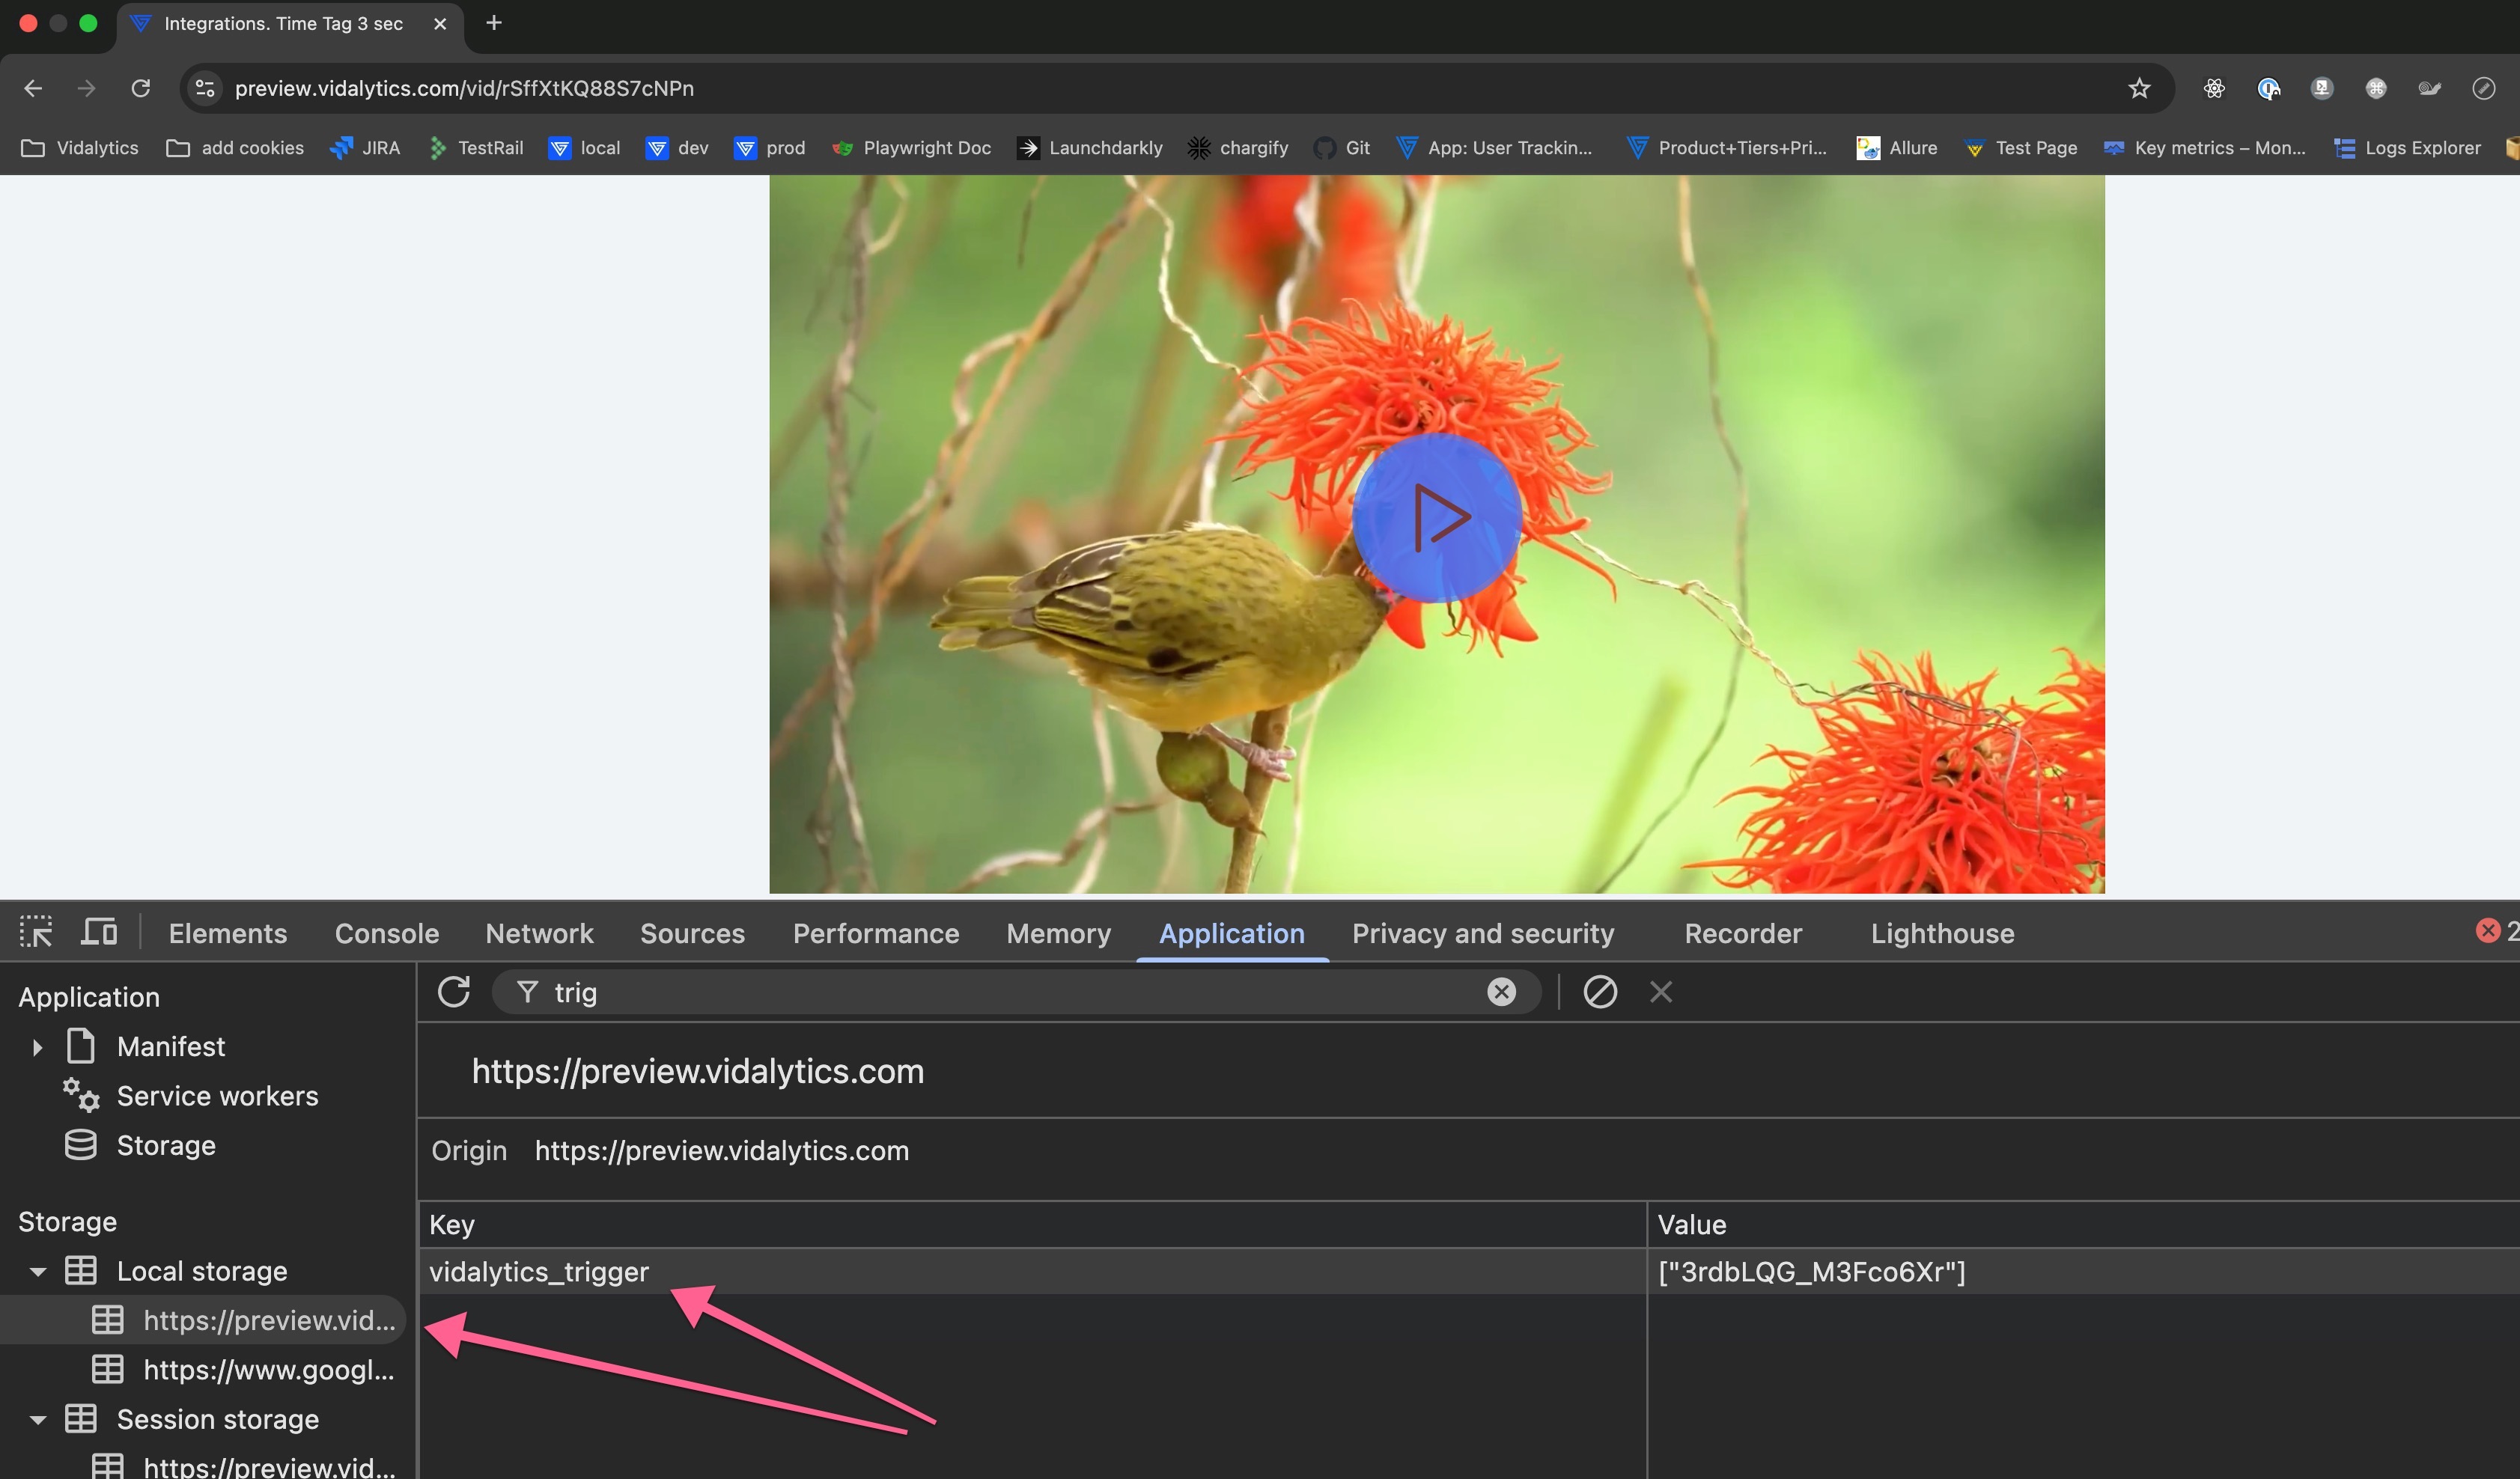
How to make sure my tags are working? You can definitely verify if the tag is working as intended. For this simply make sue there is a vidalytics_trigger in localStorage.
See example below:
Additional things to consider:
-
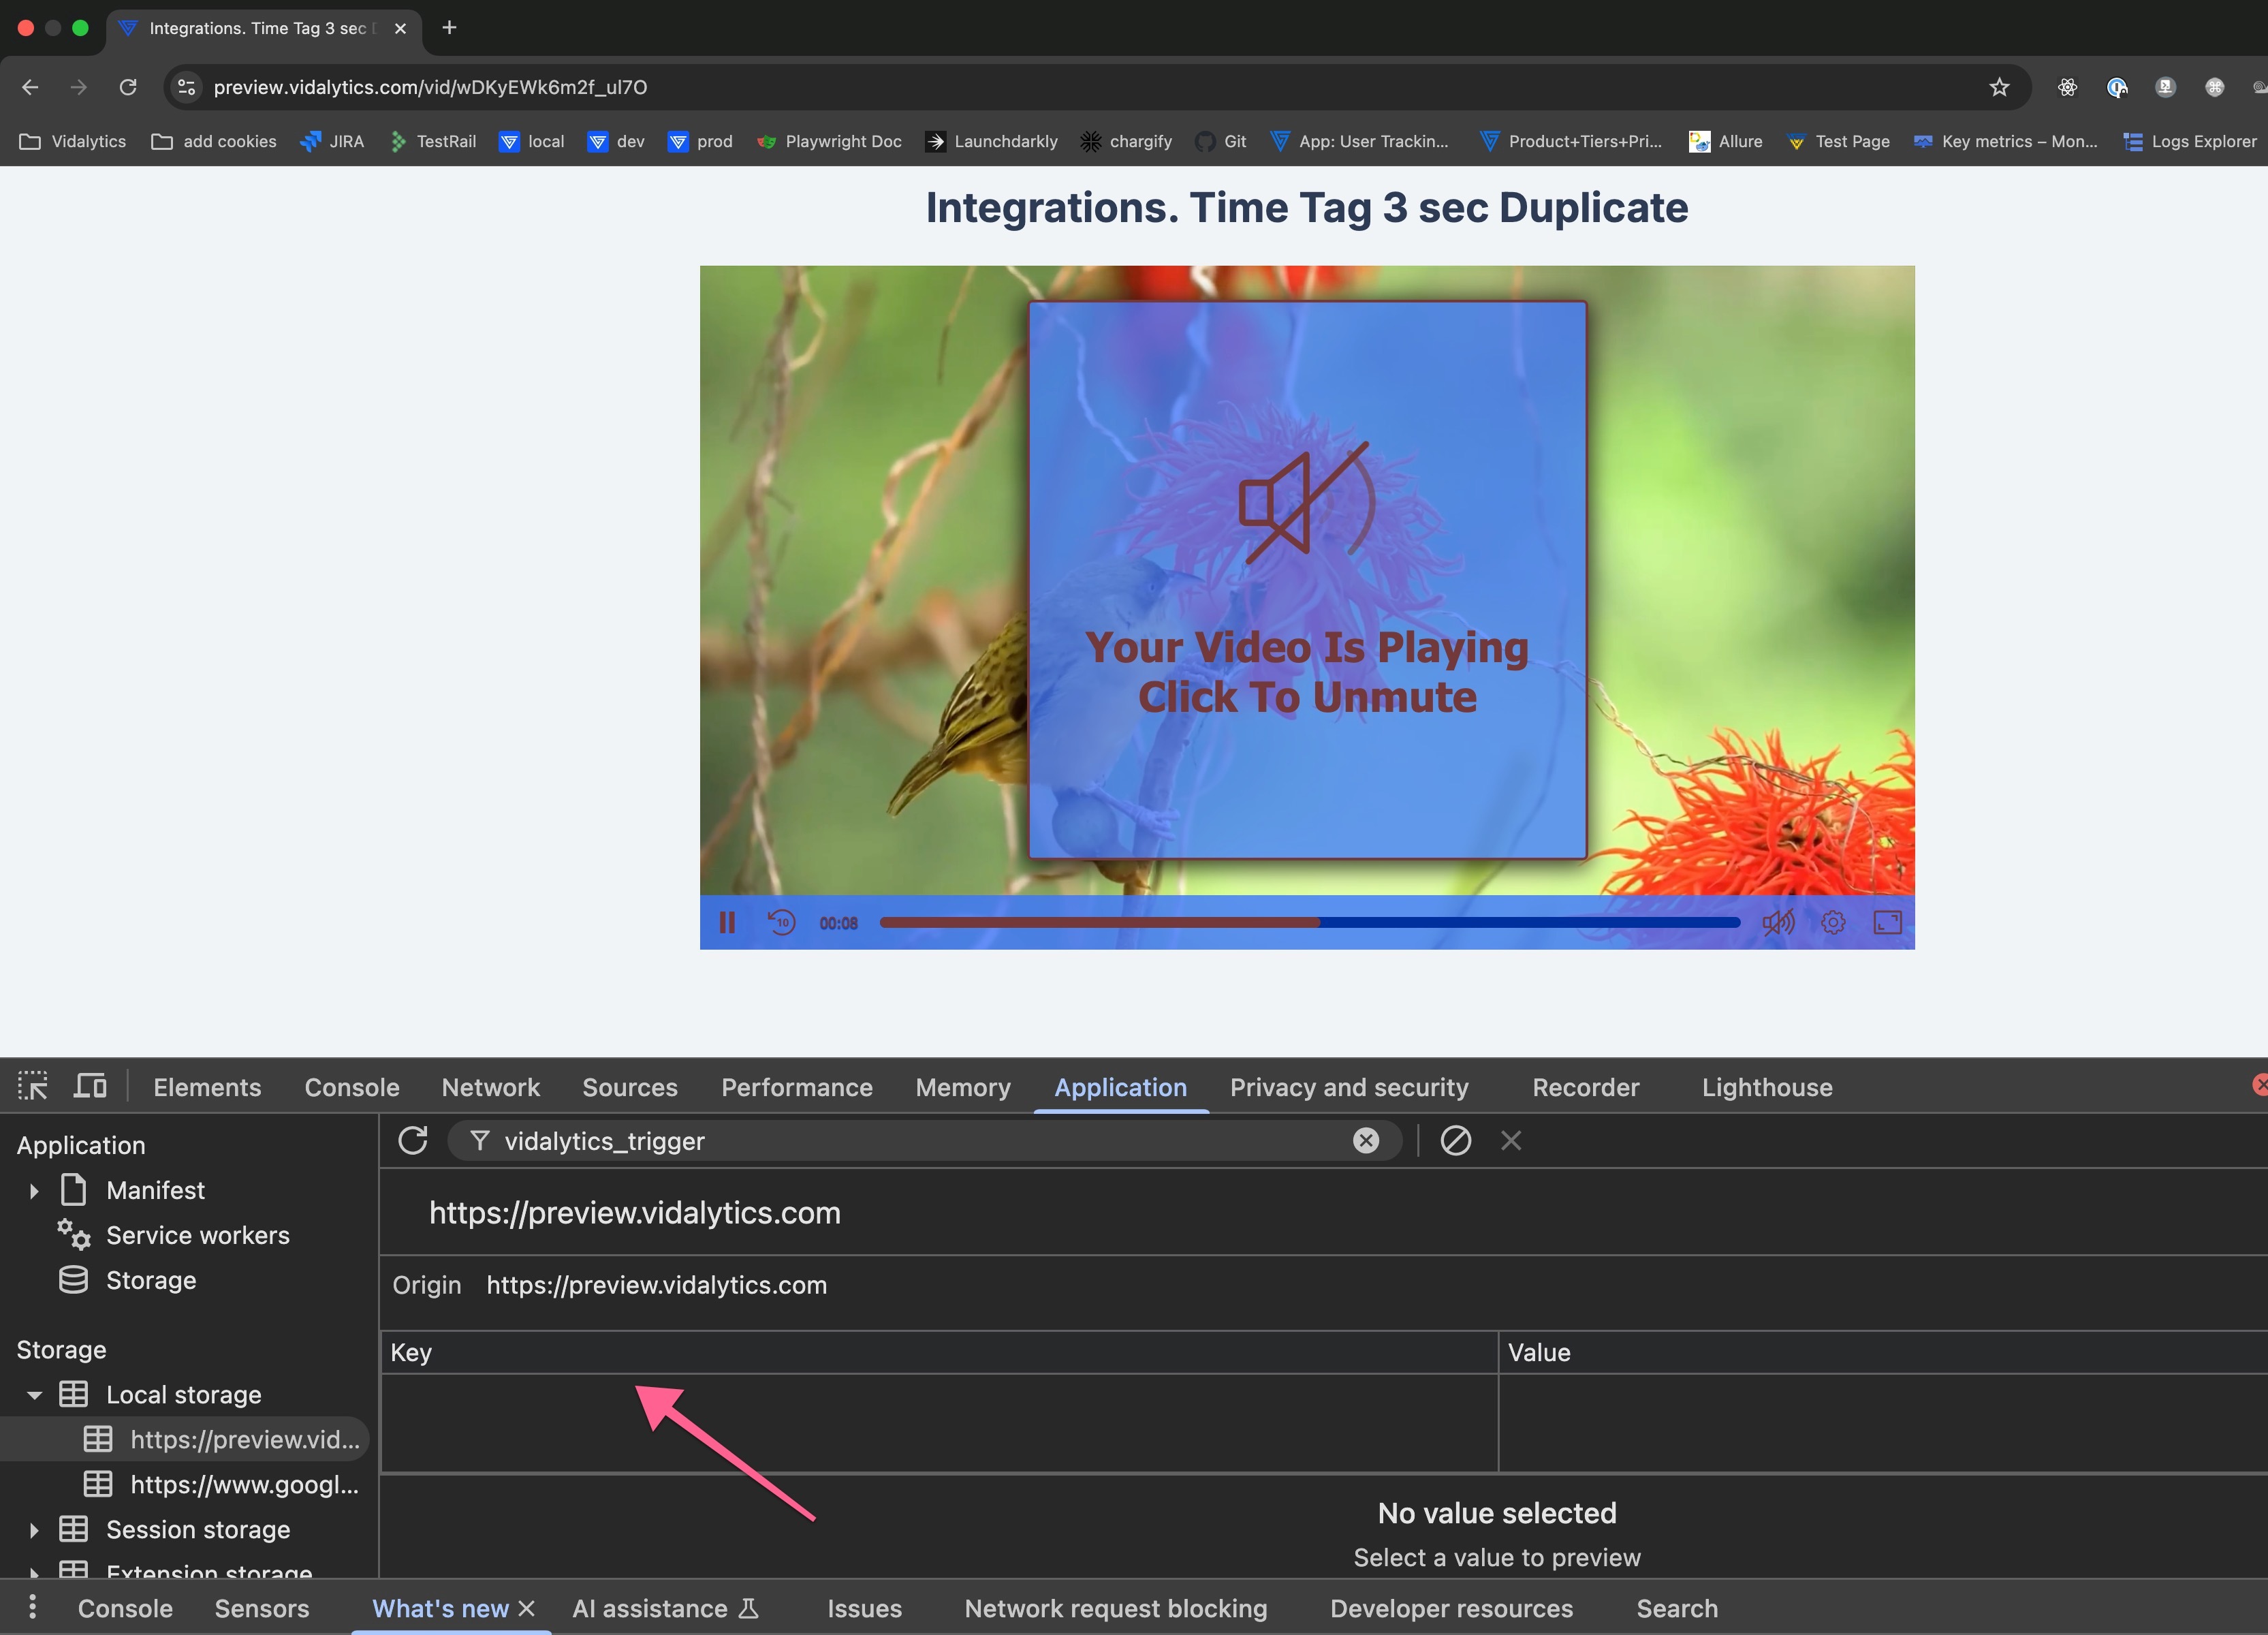
The tag will not be triggered when video is playing under an SAP overlay, See example below:
The tag will not be triggered when video is playing under an SAP overlay, See example below:
2. The tag will not be triggered if the vidalytics_trigger key in localStorage already contains the current tag GUID (i.e., if it was triggered previously).
For additional questions, feedback or assistance please feel free to reach out directly to our Customer Happiness Team at hi@vidalytics.com