Overview
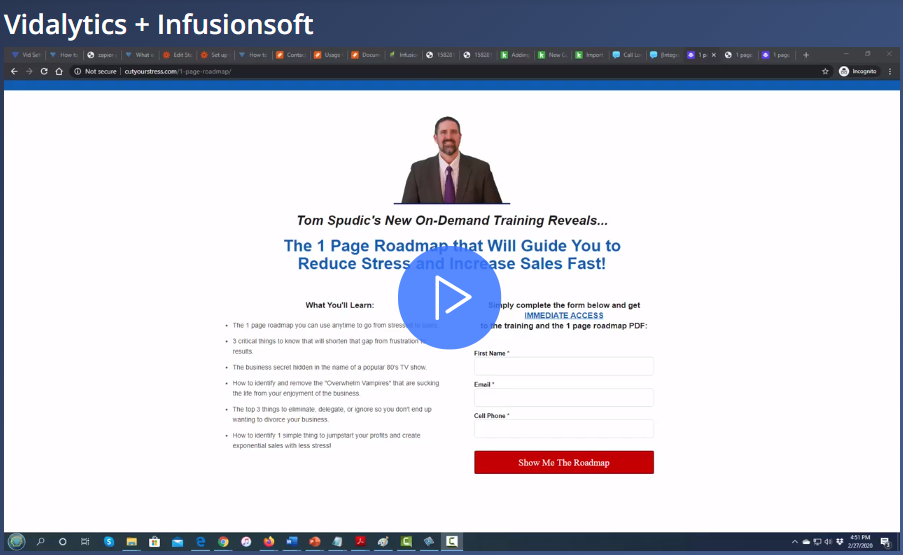
Since Keap landing pages are not fully compatible with Vidalytics, you can use Keap’s web forms instead. This method allows you to collect viewer data and pass it to your thank-you page for further processing.
Restrictions: Our marketing integrations are available starting on the Pro plan and above.
Steps for Integration
Step 1: Set Up a Keap Webform
-
Edit the Webform
-
In Keap, create a webform and add the necessary fields.
-
-
Configure the Thank-You Page
-
Navigate to the Thank-You Page tab.
-
Select "Web Address."
-
Paste your Thank-You Page URL and ensure "Pass contact information to the thank-you page" is checked.
-
-
Adjust Settings
-
Go to the Settings tab and configure options as needed.
-
-
Copy the Webform Code
-
Open the Code tab.
-
Select HTML Code and copy it.
-
Step 2: Embed the Webform on Your Website
-
Send the Code to Your Developer (or yourself if you’re tech-savvy).
-
Convert the Code – If using WordPress, ensure the code is formatted correctly.
-
Insert the Code into your WordPress page.
Step 3: Set Up Vidalytics Tags
-
In Vidalytics, configure your Tags to match the parameters passed to the Thank-You Page URL.
Step 4: Automate with Zapier
-
Go to Zapier and create a new Zap.
-
Ensure field mapping aligns with the data set in Vidalytics.
-
Test your Zap to verify functionality.
Need a visual guide? [Click here to watch the tutorial video.]
For additional questions, feedback or assistance please feel free to reach out directly to our Customer Happiness Team at hi@vidalytics.com. 😊